Have you ever found yourself in a situation where a button pops off your favorite shirt at the most inconvenient time? Learning how to sew on a button is a valuable skill that can save you time and money. Follow these expert tips to master the art of sewing on a button like a pro.
Step 1: Gather Your Materials
Before you begin, make sure you have all the necessary materials on hand. You will need a needle, thread that matches the color of your garment, and of course, the button that needs to be sewn on.
Step 2: Thread the Needle
Take a length of thread and thread it through the eye of the needle. Tie a knot at the end of the thread to secure it in place.
Step 3: Position the Button
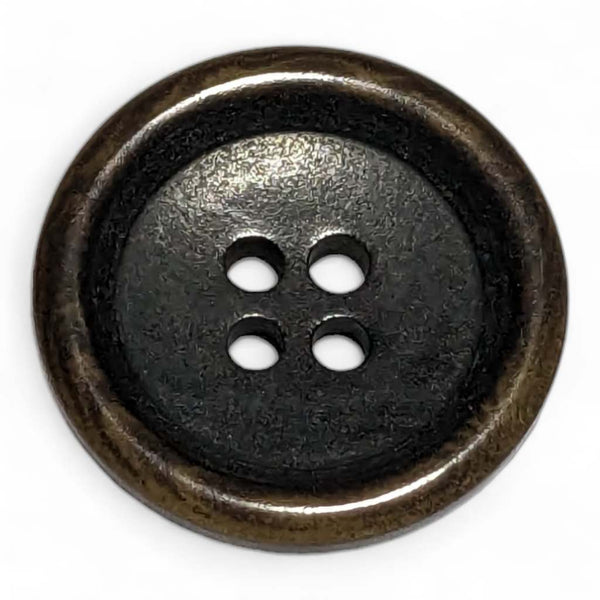
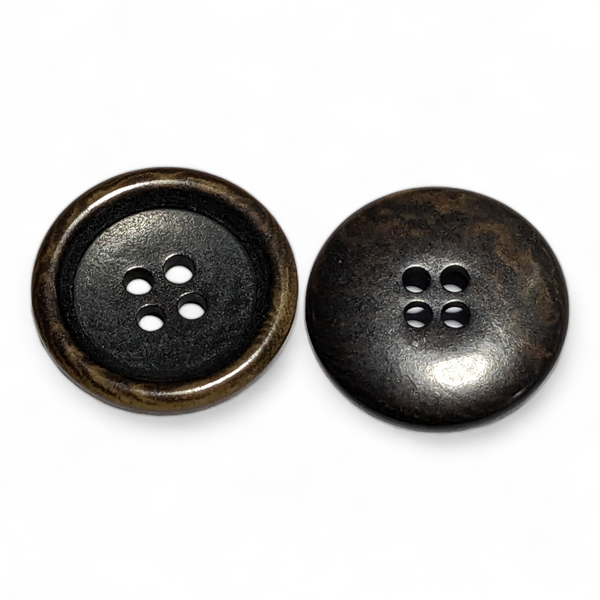
Place the button in its correct position on the fabric. If the button has two or four holes, make sure it is aligned properly before you begin sewing.
Step 4: Sewing the Button
Start sewing by pushing the needle up through the fabric from the back, through one of the buttonholes. Pull the thread all the way through until the knot catches on the fabric.
Next, push the needle down through the opposite hole and pull the thread tight. Continue sewing back and forth through the buttonholes several times to ensure a secure attachment.
Step 5: Securing the Button
Once you are satisfied with the button's attachment, finish by sewing a few stitches on the backside of the fabric to secure the thread. Tie a knot and trim any excess thread.
Now you can confidently sew on a button like a seasoned pro. Practice makes perfect, so don't be afraid to try your hand at sewing on buttons whenever the need arises. Happy sewing!


